 "Urambo Tauro" (urambotauro)
12/12/2016 at 12:00 ē Filed to: garage, wrenching, electrical, wiring, project, blog
 5
5
 2
2
 "Urambo Tauro" (urambotauro)
12/12/2016 at 12:00 ē Filed to: garage, wrenching, electrical, wiring, project, blog |  5 5
|  2 2 |
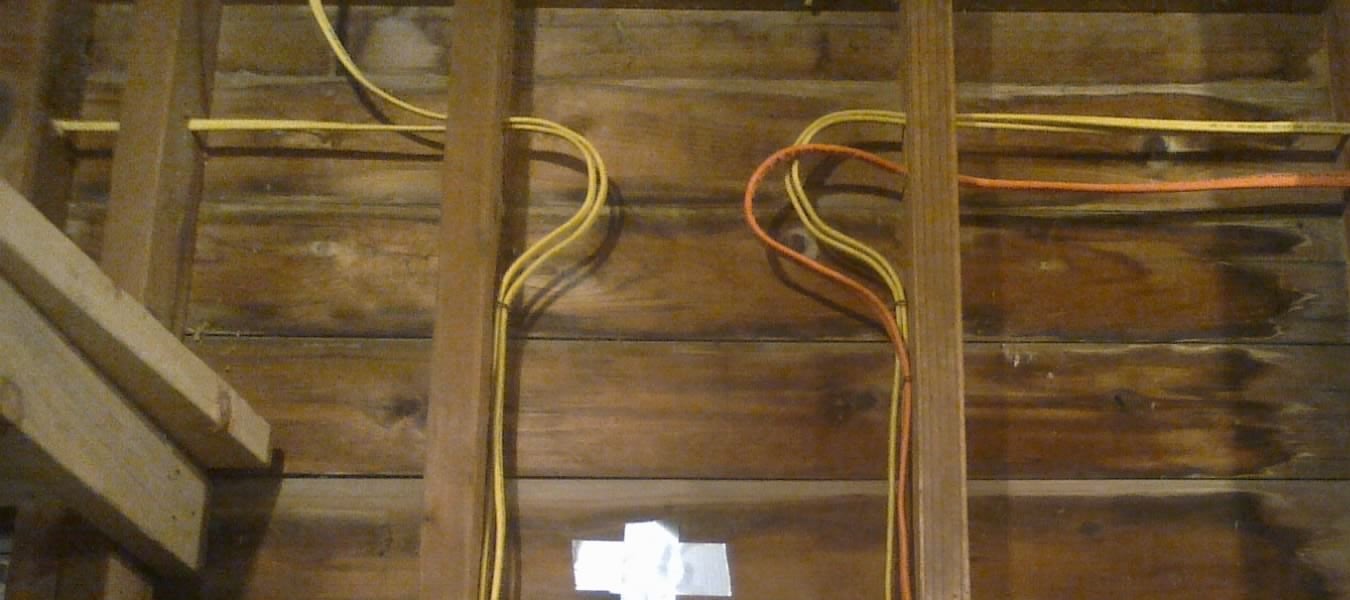
My garage has been a pain in the ass to work in for quite some time. Poor lighting, extension cords everywhere... Time for a wiring overhaul!
This post is a summary of several weekends of work, all compiled into one post for your enjoyment. Unfortunately, I got kinda carried away and forgot to take pics for a LOT of it and donít have many before/after examples.
The incoming power line from the house (an old farmhouse dating back more than 175 years) to the garage consisted of two plain household lines strung across the ~20ft gap. Ready for some horror? Check this out:
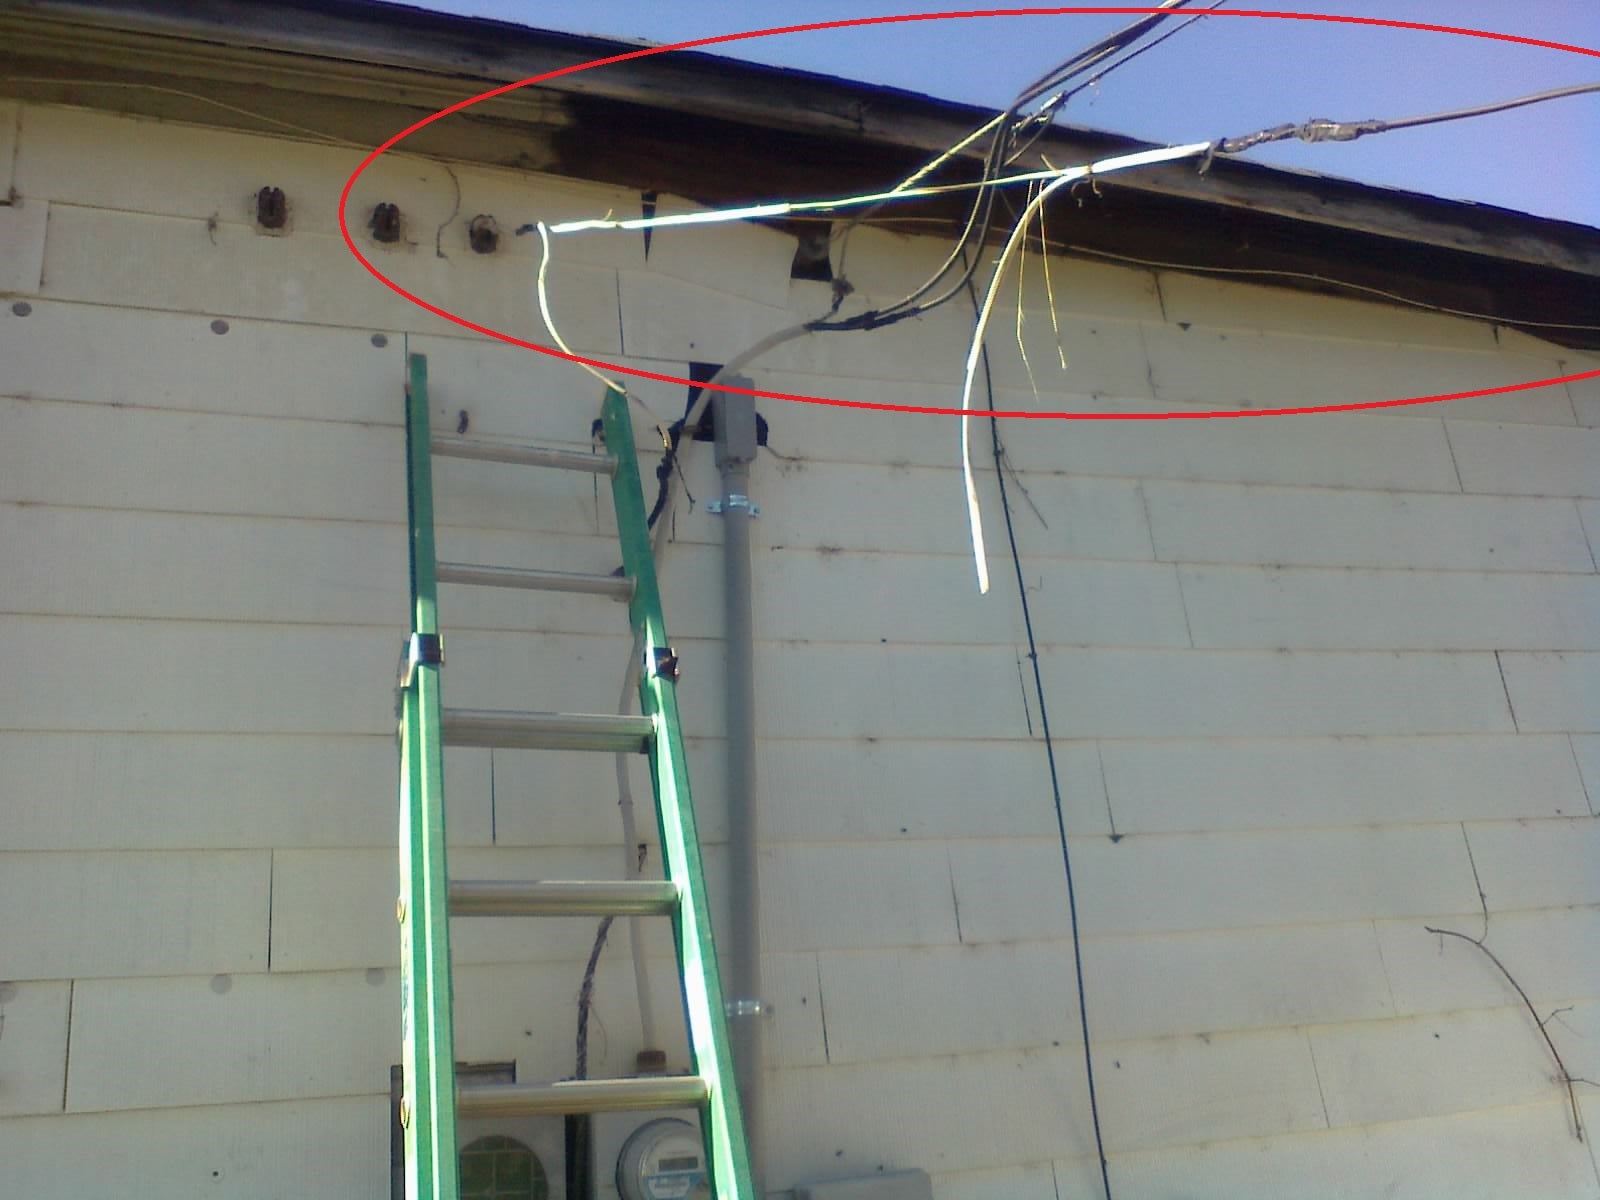
Pic taken after removing one of the wires.The other one had about the same amount of insulation hanging off of it. Definitely not UV-rated. Who does that?
Having cleared the out-of-control vines from the side of the house, it became clear that the old wiring was just falling apart. One line supplied power for a couple of old duplex outlets over by the workbench, while the other fed the lights: one exterior halogen fixture and three poorly-placed incandescent bulbs (two of which were near the workbench, but just far enough away for oneís body to cast shadows over whatever you were working on).
Having put up with this for far too long, I had plans already sketched out from my idle ďsure would be niceĒ daydreaming. But before running any wires, I looked up some codes and stuff to make sure that everything would pass. Then I could get started.
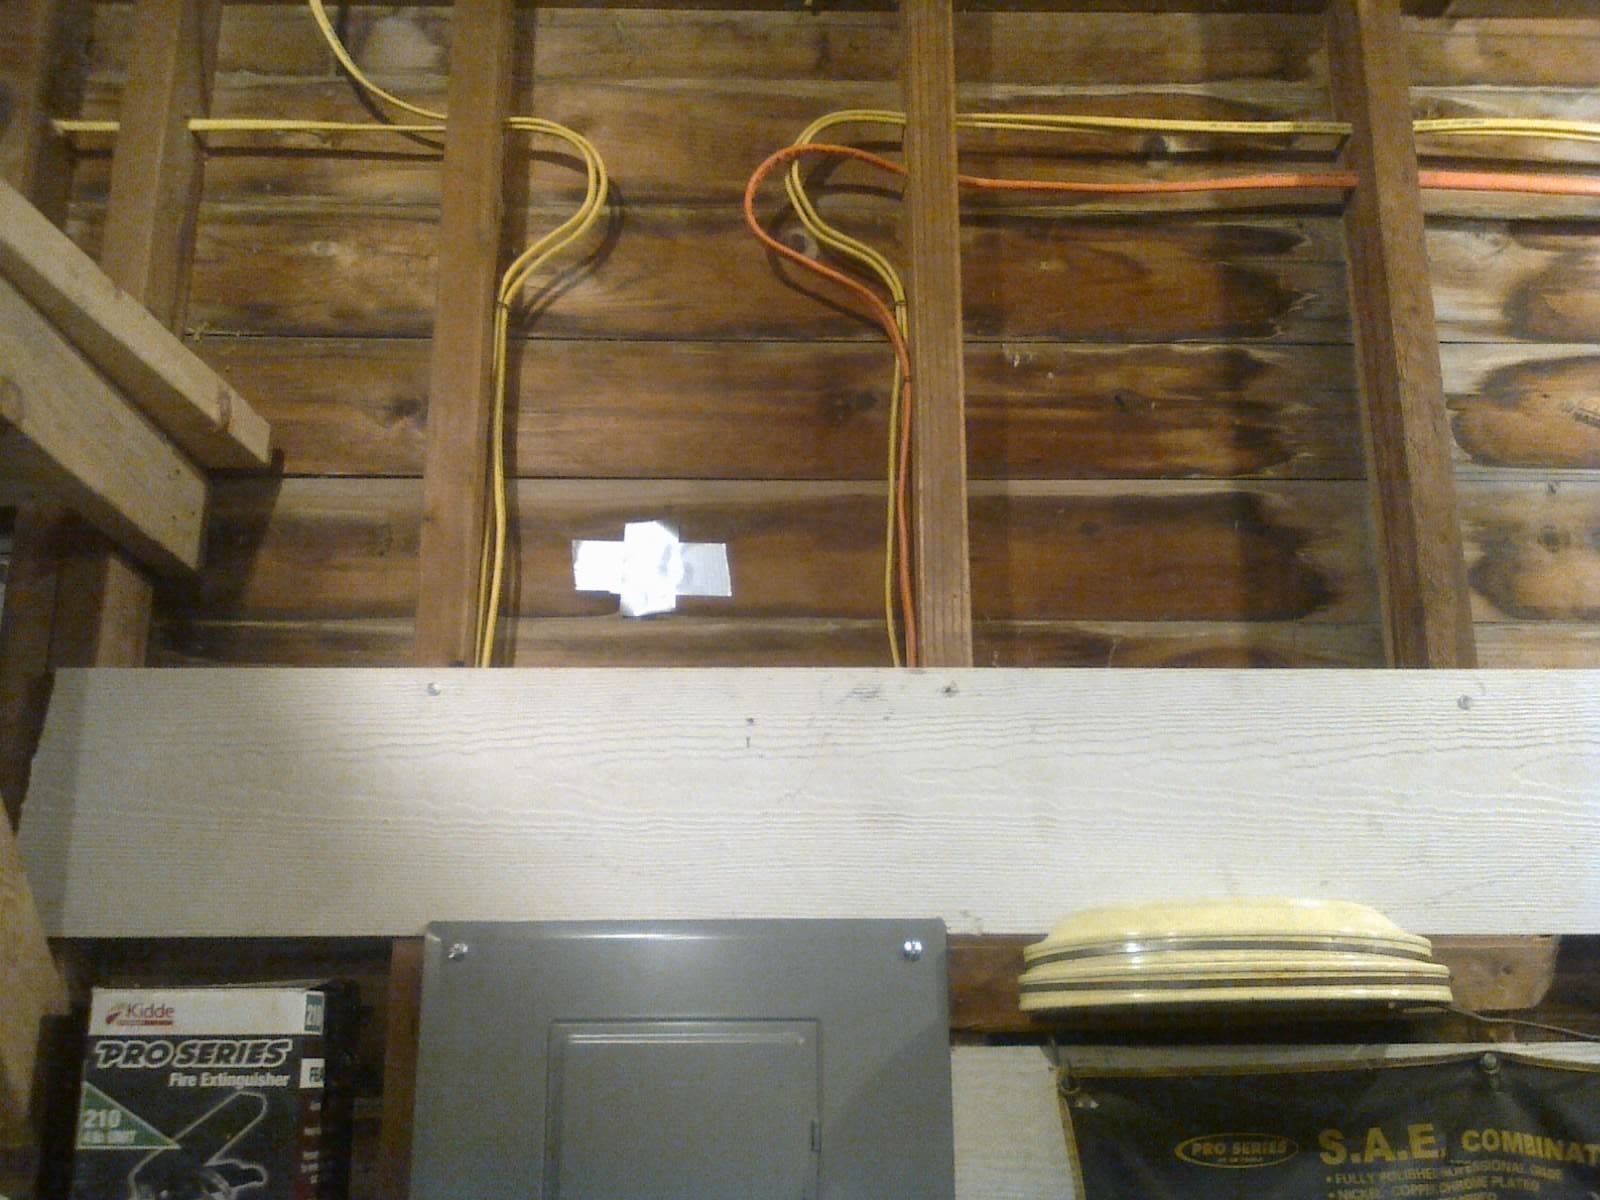
I began with a service panel. There would be no more running into the house to reset or shut off circuits. The (oversized, but the price was appealing) sub-panel would go in a centralized location in this two-car (30' wide x 25' deep) garage. I chose the back wall, directly over the workbench and between the two bays.
With the sub-panel in place, I marked places for all the boxes to go. Over the course of the next few weekends, weather determined my course of action. When it was nice, I could work on digging the trench and running conduit & supply wiring from the house. Otherwise, I would stay inside the garage, running wires and installing boxes.
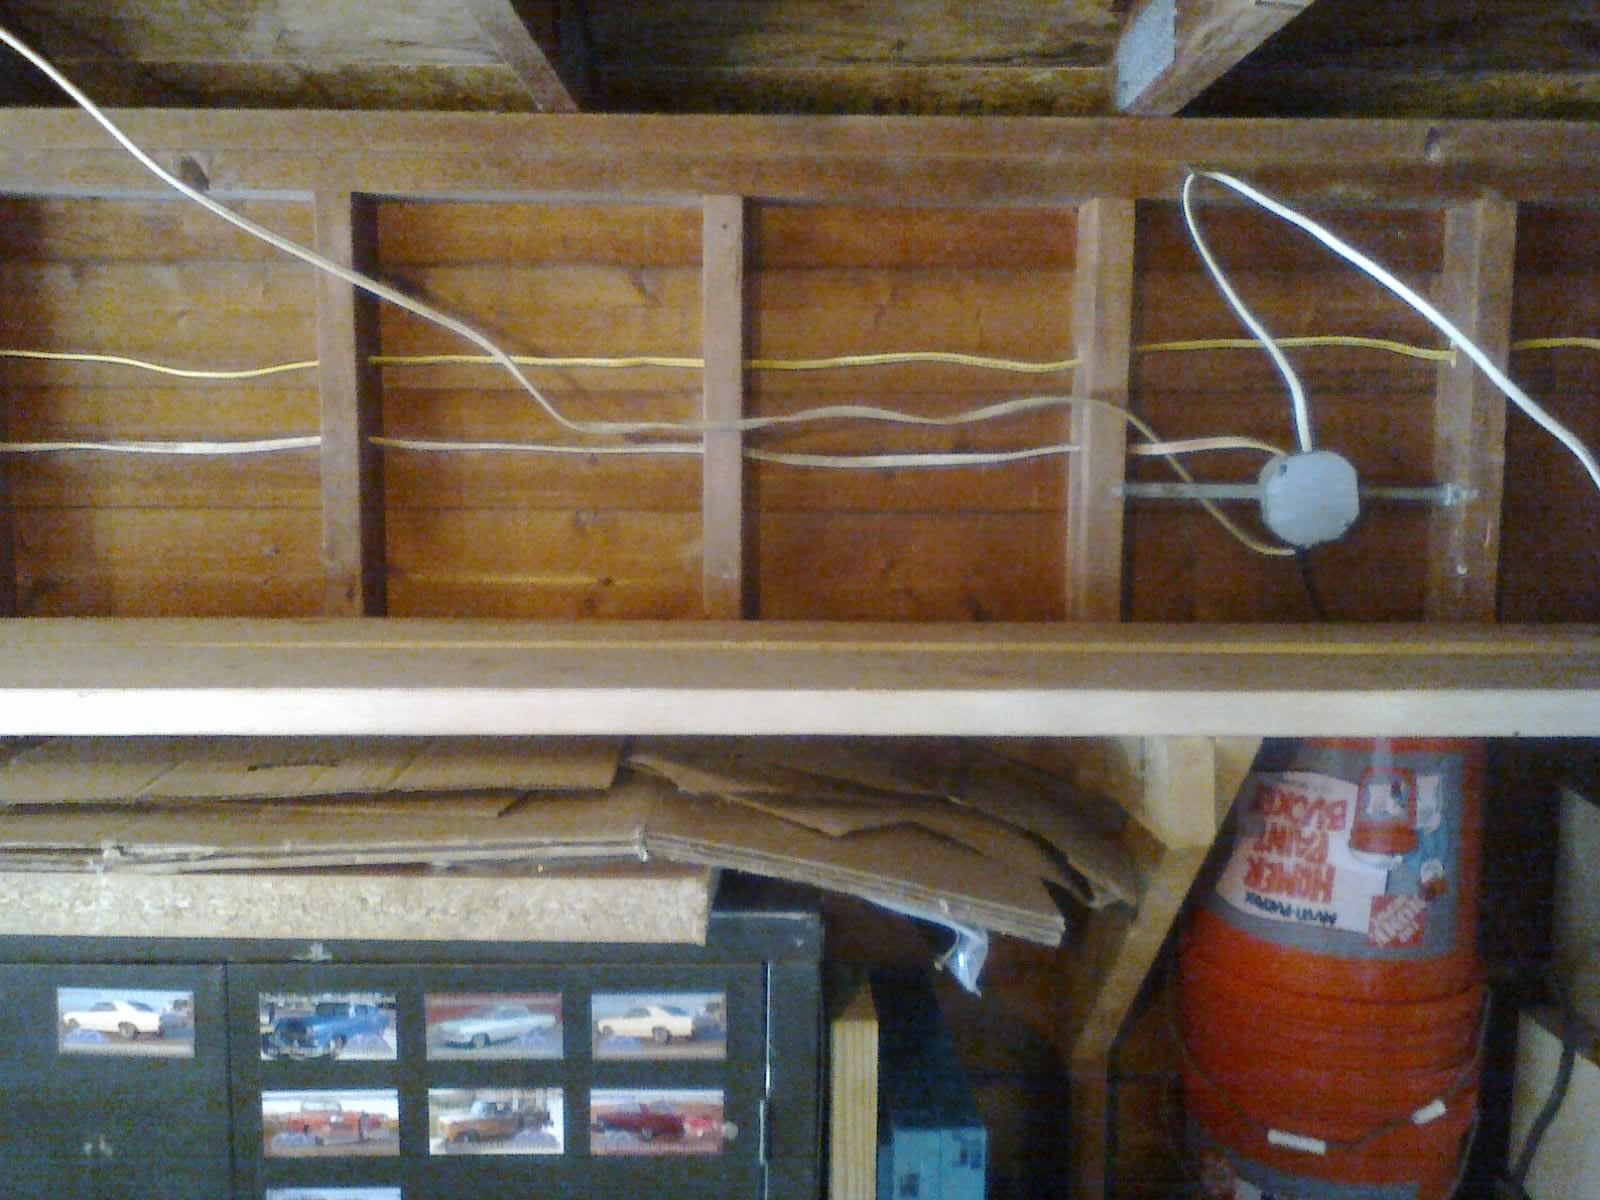
Upper shelving cleared off to drill holes through studs and run new wiring (yellow). The old wiring (white & black) had been installed sloppily.
Despite the sketchiness of the old wiring, it was left in place for the duration of this project to use for power tools and lighting to work by. It was pulled out shortly before final inspection.
The new wiring was kept high, except for where it had to drop down to meet the boxes. With so much room in the service panel, outlets were generously assigned to multiple circuits to avoid ever overloading any one circuit.
All interior wall outlets were spaced 12 feet or less apart. Either end of the 10' workbench now has its own quad-box, yielding a total of 8 outlets just for the bench alone. That might be overkill, but who knows, I might have, say, a radio, desk lamp, phone charger, drill charger, laptop, and soldering iron all plugged in at the same time some day. Thatís six loads, right there.
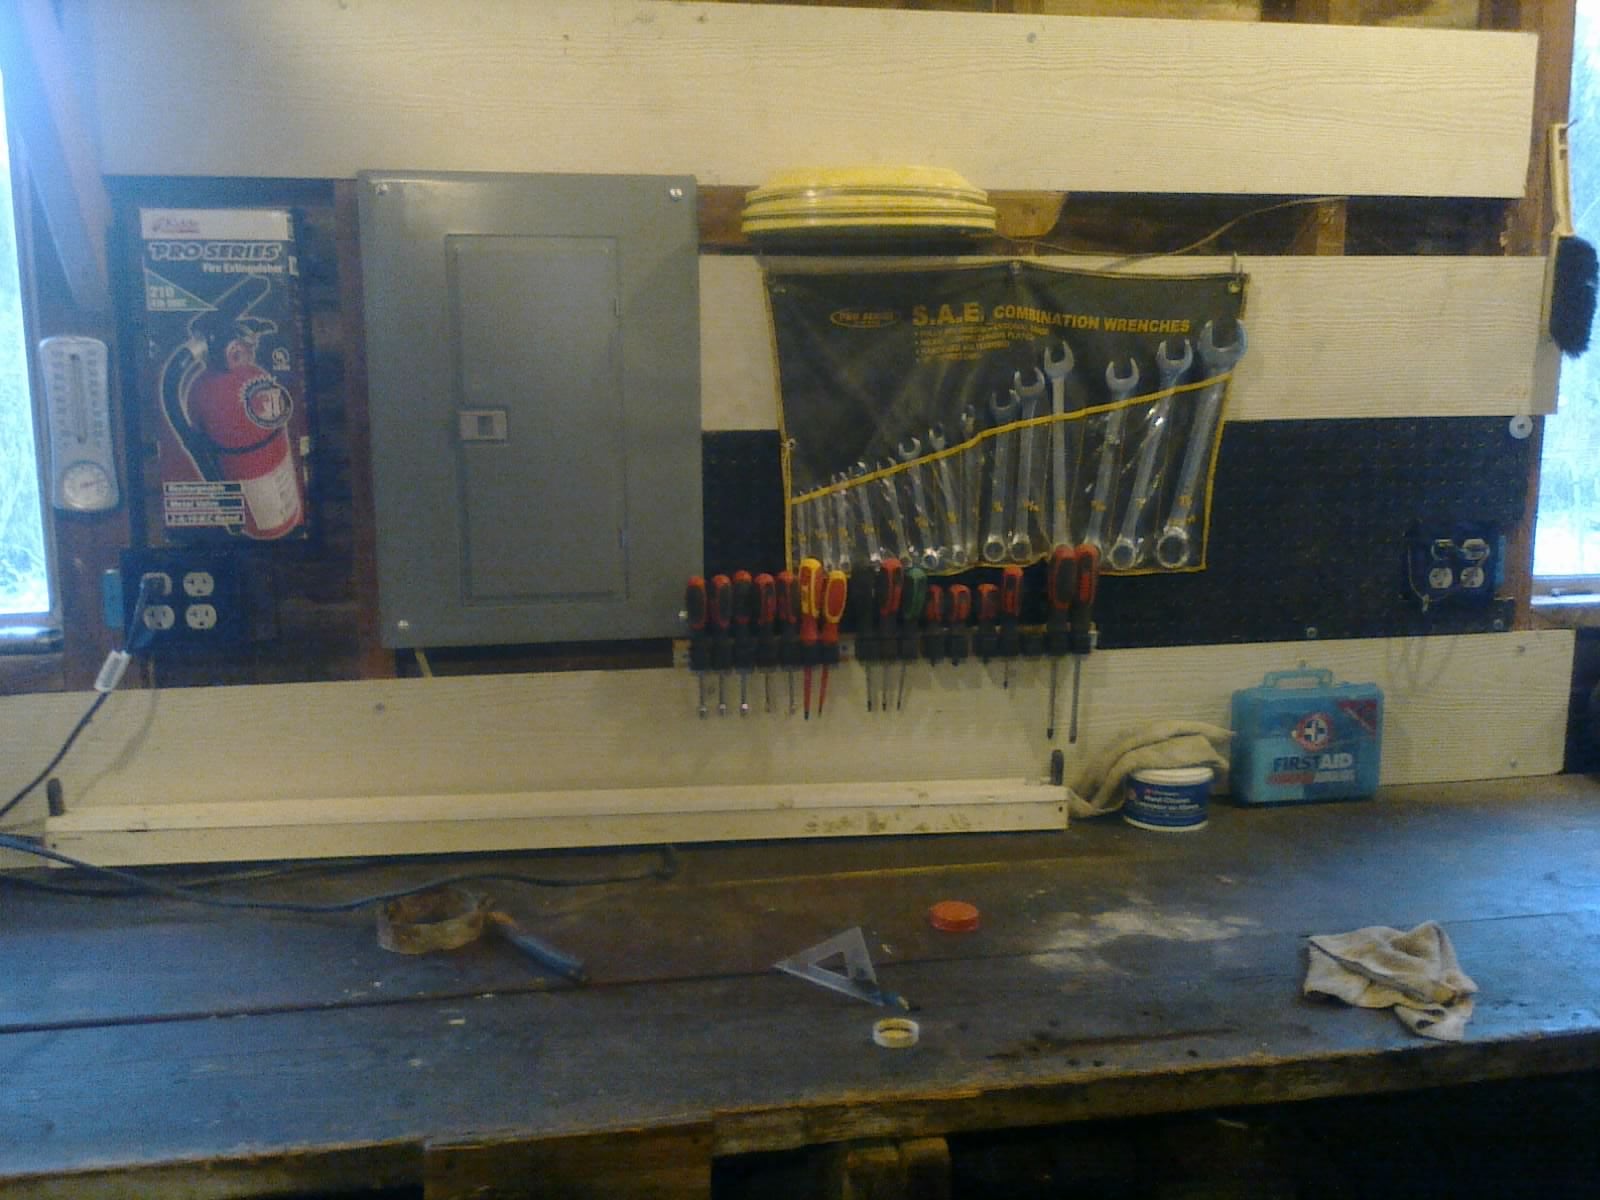
In this pic I already have my bench lamp, radio, and laptop plugged in. Good thing thereís plenty of open spots!
This was also a good chance to install some exterior outlets (one in front between the two bays, and one near either of the rear corners). Might come in handy at some point...
I also took the opportunity to install a 50-amp 220V circuit. I donít even have anything that needs it, but itís nice to be ready for an air compressor upgrade, or a welder.
The lights got their own dedicated circuit, and were spaced evenly to better light the garage. I took careful measurements, then placed the fixtures in the exact center of their respective walkways. I wanted them to be able to cast some light towards either side of their aisle, lighting up shelving and a little bit under the edge of the car simultaneously.
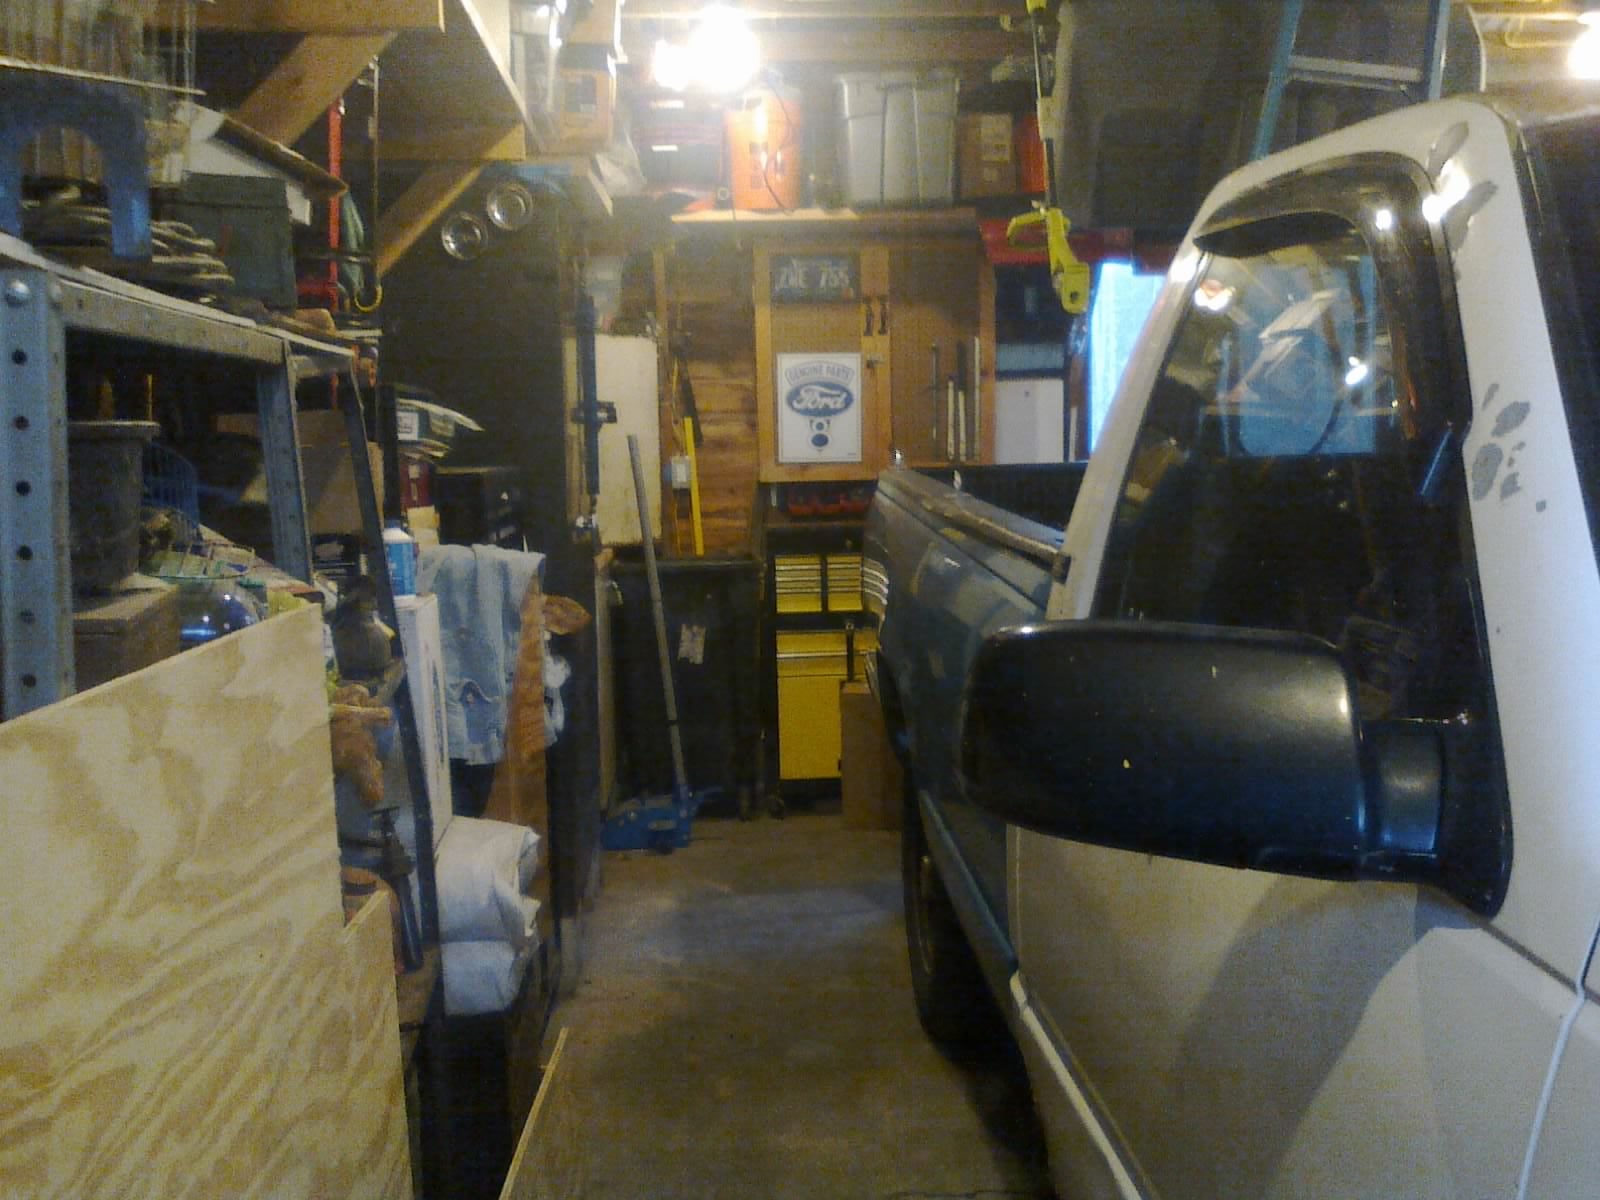
Fully lit aisle between west wall and my truck. Massive improvement over what it used to look like.
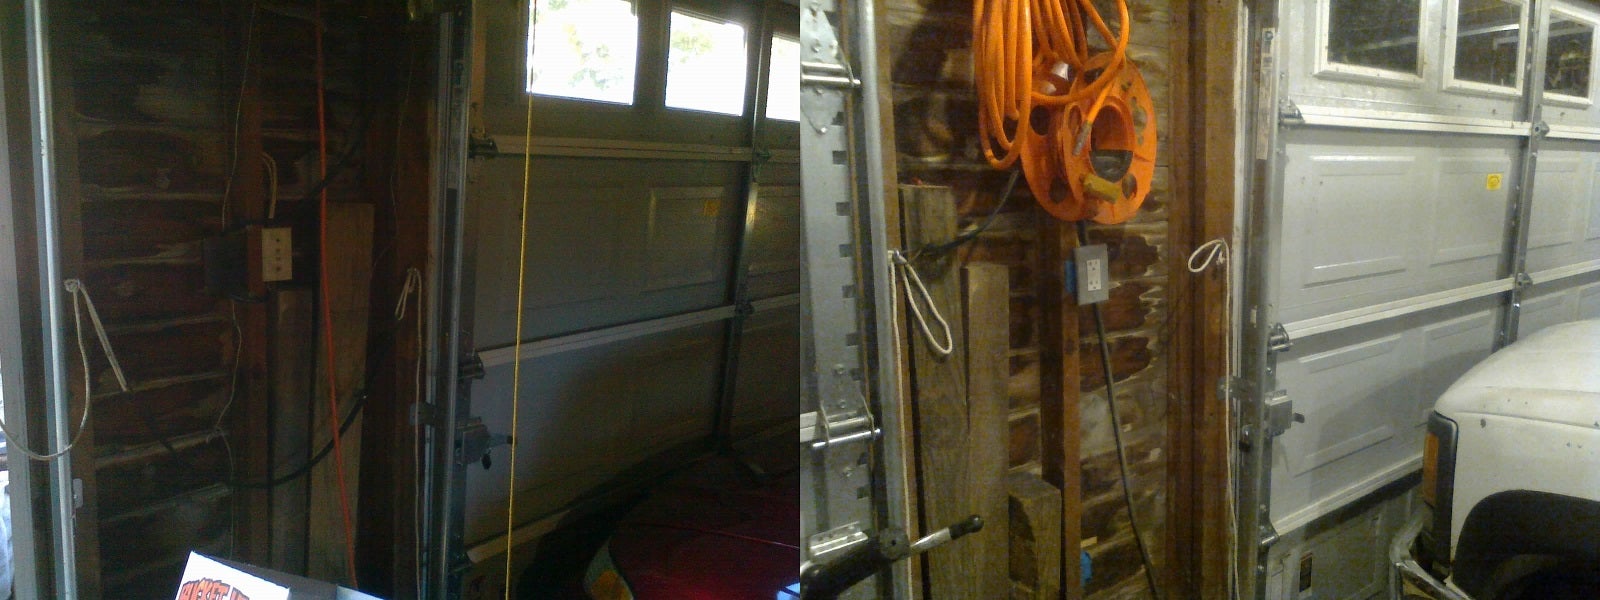
This is the closest thing I have to a good before/after pic. The lights are ON in both pics.
After popping in some LED bulbs and removing all the old wiring, Iím pleased to report that everything passed inspection!
This doesnít make it a dream garage, but at least itís a less-miserable place to work. I can see what Iím doing much better, thereís always an outlet close by, and I donít have to keep tripping over extension cords all the time, either!
 shop-teacher
> Urambo Tauro
12/12/2016 at 12:41 |
|
Good upgrades. I need to do a similar job to my garage. My feed isnít as bad as yours, but itís bad and inadequate. My lighting is a miss-mash of old florescent fixtures and clamp lights. Mine will have to wait until I can afford to dig out and redo our patio, as there nothing but pavement between my garage and my house. The patio is in desperate need of a redo as well.
 XJDano
> Urambo Tauro
12/12/2016 at 13:49 |
|
Good stuff. I need to make my garage great again. I have it cluttered with so much stuff that I get off jobs or 1/2 done projects.